Installing PyCharm on the build server
Getting PyCharm Professional (optional)
Go to JetBrains' student website and click "Apply now". Fill out the form using your school email. Check your school email for an email from JetBrains. Create a new JetBrains account. Use this account to log in when PyCharn asks for a professional key
Downloading on the build server
Open your shell and run
curl https://raw.githubusercontent.com/thealtofwar/files/main/install_pycharm.sh > ~/install_pycharm.sh
chmod +x ~/install_pycharm.sh
~/install_pycharm.sh
This installs PyCharm to your desktop.
Alternate download method
When you're on the build server, go to the download and pick which edition of PyCharm you would like to download. Once the download completes, click on it to extract it. When something that looks like this appears,
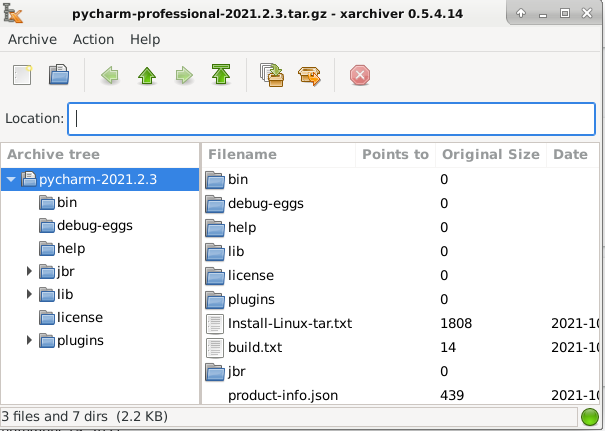
Look for the button that looks like a up arrow with a line of top that's labeled root that looks like this. Click on it. Drag the folder to your desktop. It will say an error occured, but it should be fine.
Installing PyCharm on the build server
When you're on the build server, go to the folder that you just downloaded PyCharm to. Click on the 'bin' folder. Click on the 'pycharm.sh' file. PyCharm should start running. If you downloaded the Professional version, you might have to log in with the JetBrains account you made when signing up. Open the folder where your project is located. Now you can start coding.